A step by step guide to lighting and safely burning an incense cone
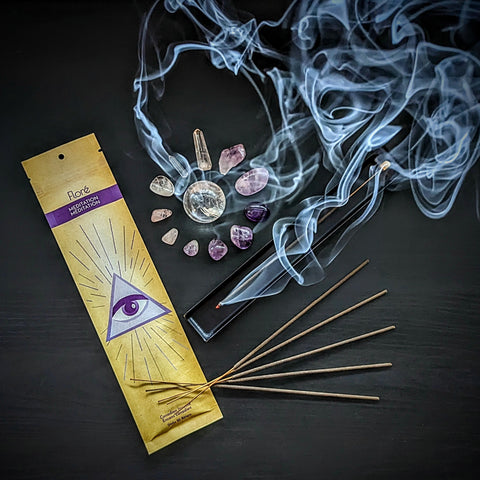
Incense cones are a popular way to enjoy fragrant smoke without the longer burn time of an incense stick or the setup required for resins and herbs. Compact and powerful, they offer a focused aromatic experience in about 15–25 minutes — perfect for meditation, relaxation, or a midday reset.
As with all incense, safe burning matters. Incense cones burn hotter than sticks, so following proper setup is key to both enjoyment and safety. Here’s how to light an incense cone properly for the best burn.
But wait, why don't you sell incense cones?
For many years Floré Canadian Incense sold incense cones as well as incense sticks. The incense cone lineup was limited to about 6-9 fragrances at any given time, compared to the over 25 fragrances of incense sticks we carry.
The simple truth is that the sales were too low and too slow to continue investing in the time, materials and space required for incense cones or backflow incense cones.
Incense cone quality was also becoming a concern as fragrance can degrade over time and the cones were sitting in inventory for too long. Making smaller batches proved impractical, so we made the decision to discontinue the product.
We still have some raw (not dipped in fragrance) incense cones and backflow incense cones. If you are interested in the raw cones, or a special order of bulk scented cones, contact us.
STEP 1: How to choose the right incense burner
Incense Incense cones get hot — much hotter than incense sticks — so using a proper, heat-resistant incense burner is essential. Avoid painted or wooden burners, which can scorch or become damaged. The best incense burners for cones are typically made of metal, stone, or ceramic.
The burner shown here is made of brass and includes small feet, so it doesn’t rest directly on your table or altar. This added airflow helps prevent heat transfer to surfaces.
STEP 2: Clean the incense burner between uses
While incense cones create minimal mess, they do leave behind a fine ash and a sticky, oily residue. The ash is easy to remove, but residue can build up over time and affect the quality of future burns — even altering the scent.
The residue is burnt oil, and it stinks. This is simply a natural by-product of burning incense cones. If multiple incense cones are burned without cleaning in between, the leftover residue may produce an acrid odour. This is especially important when switching scents.
Because incense cones burn very hot, some discolouration and hardened residue is normal — as seen on the brass burner above. This is another reason to use burners made from materials that can withstand repeated high heat.
Regular cleaning is part of safe incense burning practice and ensures each burn is as clean and fragrant as the first.
STEP 3: Place the incense cone upright on a flat surface
Set the incense cone upright with its flat base resting directly on the heat-resistant burner. This ensures even burning from the tip downward and prevents the cone from toppling over.
If your burner includes a lid, position the cone near the center to avoid contact with the sides. Some burners are designed to hold multiple cones, but we recommend burning only one at a time — both for safety and to prevent overwhelming the space with too much heat or fragrance.
Taking a moment to position the cone properly helps ensure a consistent and even burn.
STEP 4: Apply flame to the tip of the cone
Using a match or lighter, apply a steady flame to the pointed tip of the incense cone. Hold the flame in place for a few seconds to allow the cone to catch — it may take a moment, especially if the cone is fresh or slightly dense.
Be patient. A weak ignition is one of the most common reasons an incense cone won’t stay lit. You are looking for a small, steady flame and the beginning signs of a red glow at the tip.
STEP 5: Let the flame burn briefly
Once the tip is lit, let the flame burn for about 5–10 seconds. This allows the heat to travel slightly into the cone and establish a strong ember.
Don’t walk away or let it burn too long — the goal is not to incinerate the cone but to prepare it for a steady smoulder. You should begin to see a soft red glow forming beneath the flame.
A well-timed burn at this stage helps ensure your incense cone won’t go out too soon.
STEP 6: Blow out the flame gently
After the tip has burned for a few seconds, gently blow out the flame. You’re not trying to extinguish the whole cone, just the visible flame.
A steady red ember should remain at the tip. If it goes dark or the smoke stops quickly, the cone may not have caught properly and will need to be relit.
This step is key to transitioning from fire to smoulder, the stage where the scent truly begins to unfold.
STEP 7: Look for the glowing ember
Check the tip of the incense cone — you should see a glowing red ember and a steady trail of smoke beginning to rise. That’s how you know the cone is properly lit.
If there’s no glow or the smoke fades quickly, don’t worry. It’s common for cones to need a second try, especially in cooler or drafty environments.
Lighting an incense cone is a bit like building a campfire — sometimes it takes a little tending to get things going.
STEP 8: Relight the incense cone if needed
If the ember didn’t take hold the first time, simply relight the tip of the incense cone.
Hold the flame to the point for a few seconds longer than before.
This added time helps the heat penetrate deeper into the cone, making it more likely to smoulder properly once the flame is blown out.
Sometimes it takes a second attempt — especially with new cones or if there’s moisture in the air.
STEP 9: Let the cone burn a bit longer
Once relit, allow the flame to burn just a little longer than your first attempt — usually 10–15 seconds in total. This helps establish a stronger ember without letting the flame consume too much of the cone.
Keep an eye on the tip. You want to see a steady glow form beneath the flame — not rapidly spreading ash or crumbling. This brief burn is the foundation for a clean, consistent aromatic experience.
STEP 10: Blow out flame again
Gently blow out the flame a second time. If everything has gone to plan, you’ll now see a healthy red ember at the tip of the cone — and a ribbon of fragrant smoke beginning to rise.
This means your incense cone is now properly lit and ready to burn on its own. No need to rush — a slow, even smoulder is what you’re aiming for.
STEP 11: Encourage the ember with a gentle blow
If the ember looks faint or unstable, give it a soft, steady blow. This encourages the glow to spread slightly across the tip and helps the cone maintain its smoulder.
You should now see a consistent stream of smoke and smell the full fragrance of the cone beginning to bloom. This final touch ensures the cone won’t go out too soon and sets the stage for a clean, complete burn.
STEP 12: Carefully place the lid, if your burner has one
Once the ember is steady and the smoke is flowing, you can place the lid on your incense burner — but only if it’s designed to allow for airflow.
Some cone burners don’t ventilate well with the lid on, which can cause the ember to fade. If the cone goes out, simply remove the lid and relight it as needed.
Always make sure your burner is cone-safe and allows the incense to breathe.
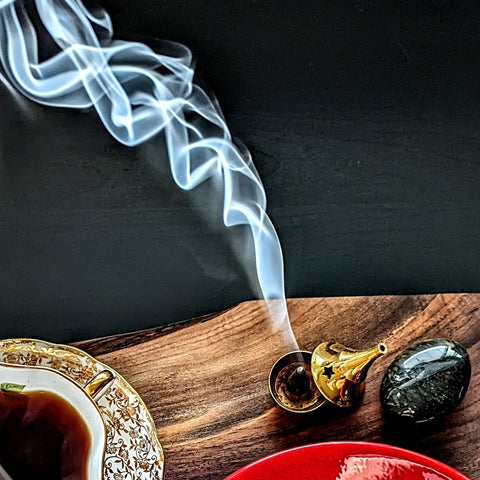
STEP 13: Enjoy the aromatic experience!
Your incense cone is now lit and gently transforming your space. Whether you're meditating, reading, or winding down, let the scent carry you.
Remember to burn incense cones in well-ventilated areas and always use proper, heat-resistant burners — especially since cones burn hotter than sticks.
Made in Ontario, Floré Incense cones are crafted for mindful moments. Slow down and enjoy the ritual.
Written by Flore